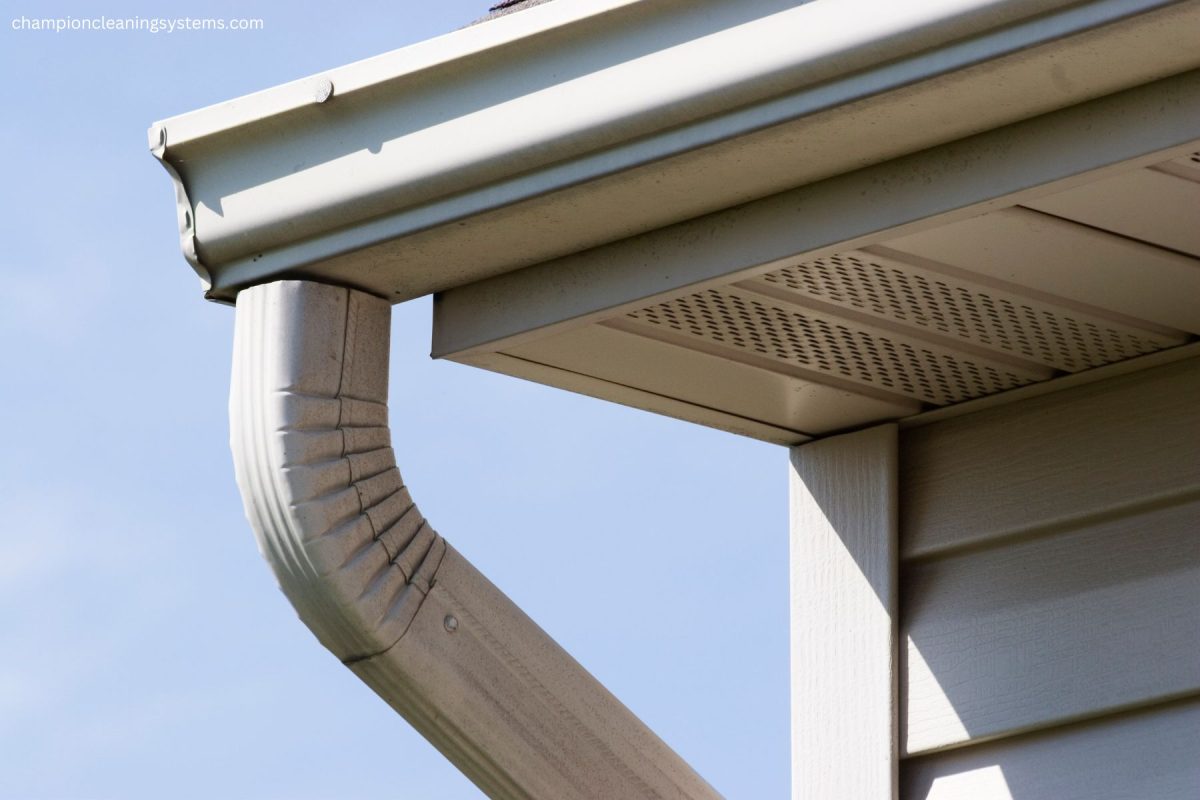
As the seasons shift and temperatures drop, preparing your home for winter becomes essential. One critical area to focus on is your gutters and downspouts. Properly functioning gutters and downspouts are vital for directing water away from your home and preventing winter-related damage such as ice dams, leaks, and foundation issues. Here’s a comprehensive guide on how to check your gutters and downspouts before winter arrives.
1. Clear Out Debris
The first step in preparing your gutters is ensuring they are free of debris.
- What to Look For: Check for leaves, twigs, and other debris that may have accumulated during the fall.
- How to Clean: Use a sturdy ladder to access the gutters and a small scoop or your hands (with gloves) to remove debris. Consider using a garden hose to flush out smaller particles.
- Frequency: Clean your gutters at least twice a year, with a focus on late fall after the leaves have fallen.
2. Inspect for Damage
Over time, gutters and downspouts can develop damage that compromises their effectiveness.
- Cracks and Holes: Look for any visible cracks, holes, or rust spots in your gutters.
- Loose Fasteners: Check for screws or nails that have come loose or brackets that are no longer secure.
- Sagging Gutters: Ensure gutters are firmly attached to your home and not sagging or pulling away.
3. Check Water Flow
To confirm that your gutters and downspouts are working properly, test their ability to channel water.
- Flush with Water: Use a garden hose to run water through the gutters and downspouts. Observe the flow to ensure water is draining smoothly and not pooling.
- Look for Blockages: If water overflows or drains slowly, there may be a clog in the gutter or downspout that needs to be cleared.
4. Ensure Proper Downspout Placement
Downspouts play a key role in directing water away from your home’s foundation.
- Distance from Foundation: Downspouts should extend at least 4-6 feet away from your home. Use extensions if necessary.
- Check for Leaks: Inspect the seams and joints of the downspouts for leaks and seal them with waterproof caulk if needed.
Check back Thursday for part 2!


